smilprpi0010.sharpnet.sdac
Pre-requisites
Installation
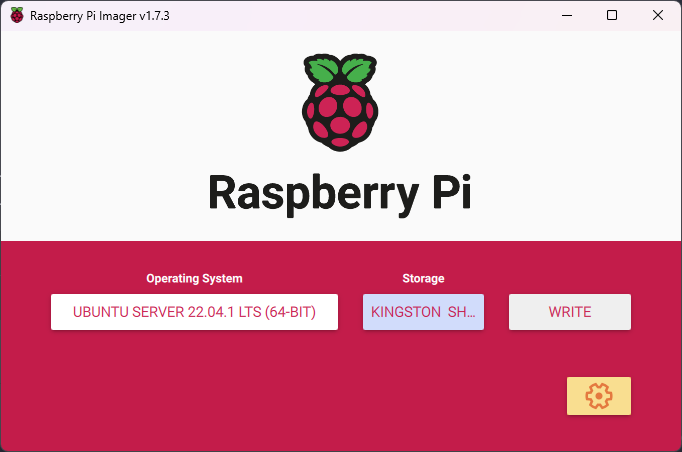
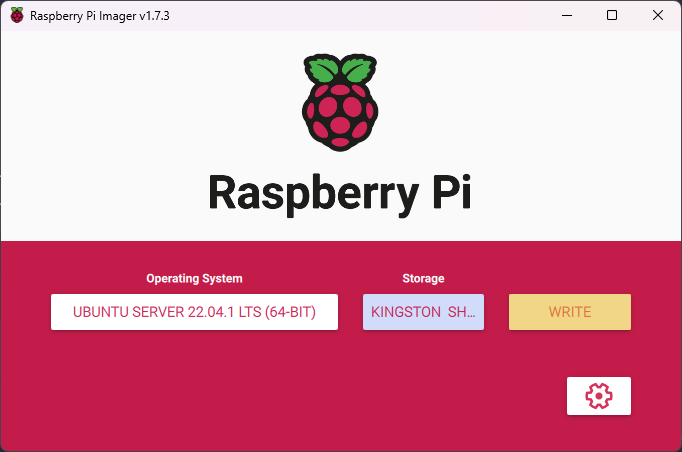
First step is to create a new Ubuntu "installation" for our Raspberry System using the RPi Imager and the Ubuntu 22.04 Server Image.
"Burn" the Ubuntu Server image to the MMC/SSD
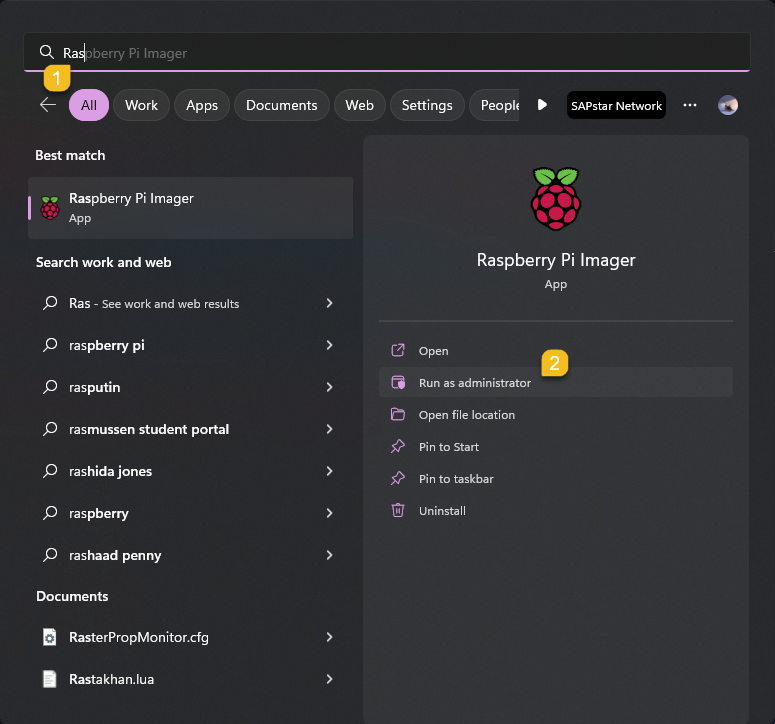
- Start Raspberry Pi Imager
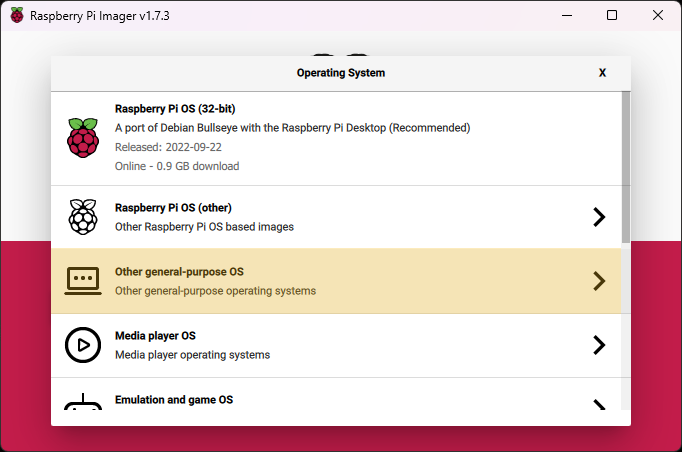
- Click "CHOOSE OS" and select "Other general-purpose OS"

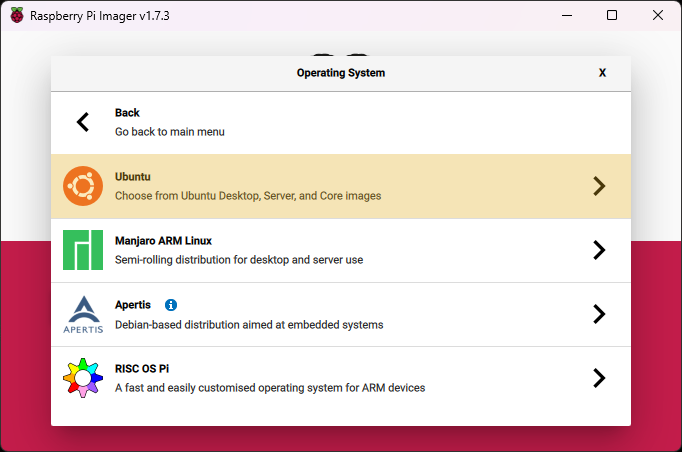
- Select "Ubuntu"
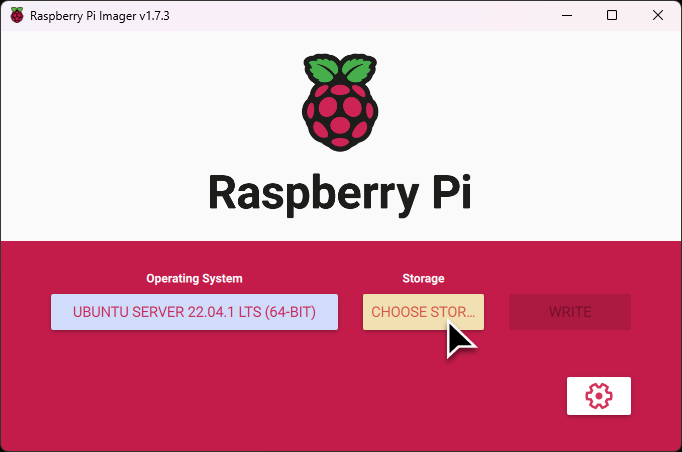
- Select "Ubuntu Server 22.04.X LTS (64-bit)"

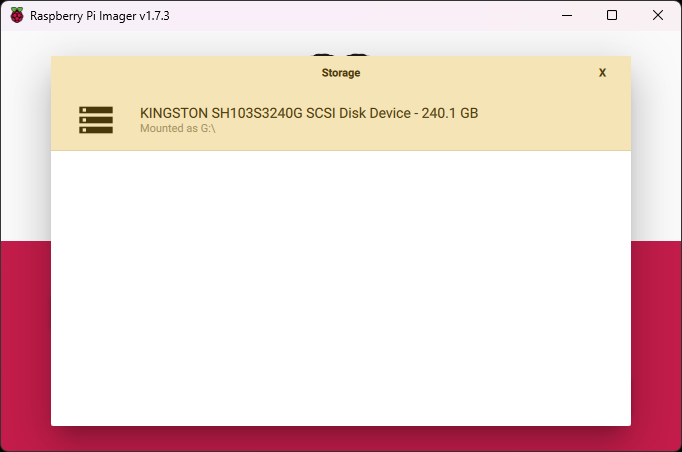
- Click "CHOOSE STORAGE" and select your SD Card/Hard Disk
- Click on the icon
- Change the system's hostname

- Enable SSH and add your SSH public key
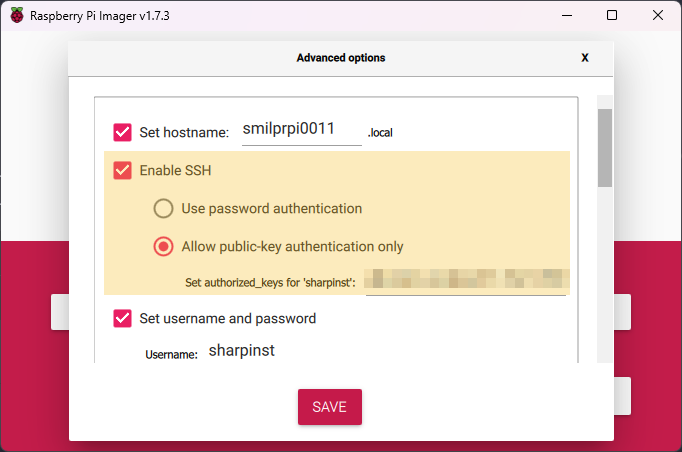
- Set the install user and it's password
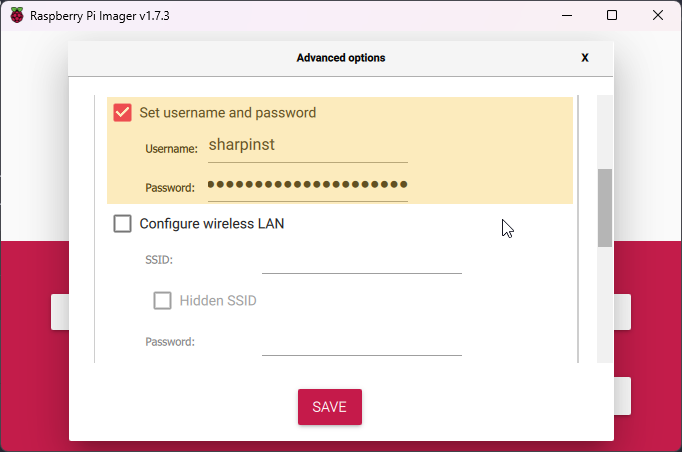
- Set the locales and "Save"

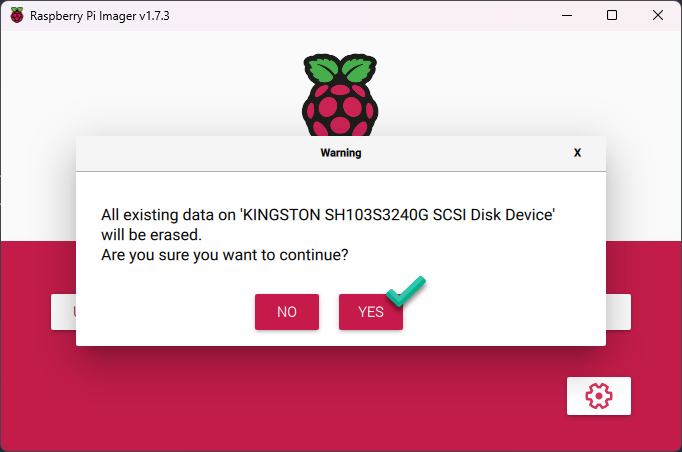
- Click on "WRITE"
- Confirm the overwrite of all data on the drive
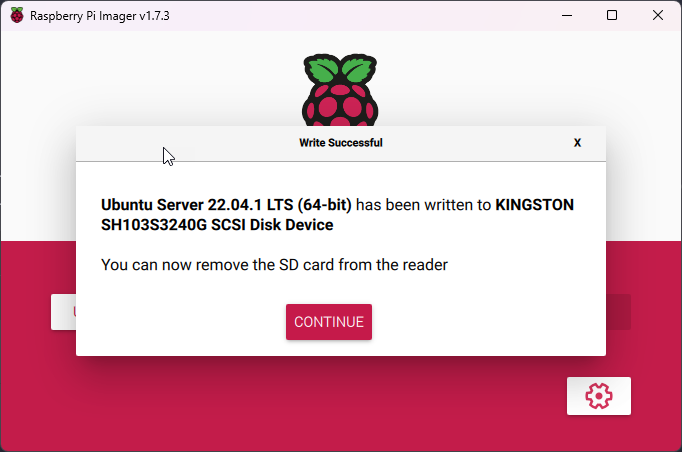
- Wait for the Write process to finish
Configuration
Configure the system with Ansible
Info
During the first boot it take some time for the system to apply all the settings we requested. Before we do anything else make sure the cloud-init finished the setup.

Preparation
Before we can run the playbook make sure that the password we choose during the install matches the one in the password vault.
Run the initial SharpNET deployment role
Info
If you see an error message about the Host key make sure to delete the old host key with ssh-keygen, then add the new Host key by logging to the system via SSH.
Warning
This playbook usually runs for a long time. On average the execution takes between 20-25 minutes.
ansible-playbook -i inventory.yml sharpnet.deployment.fresh_system \
-e shncmd_target_host=smilprpi0010.sharpnet.sdac -e shncfg_reboot=true
Check the Step CA status
● step-ca.service - step-ca
     Loaded: loaded (/etc/systemd/system/step-ca.service; enabled; vendor preset: enabled)
     Active: active (running) since Tue 2023-01-03 16:11:38 CET; 1s ago
   Main PID: 20168 (sh)
      Tasks: 10 (limit: 4414)
     Memory: 15.1M
        CPU: 312ms
     CGroup: /system.slice/step-ca.service
             ├─20168 /bin/sh -c "/usr/local/bin/step-ca /etc/step-ca/config/ca.json"
             └─20169 /usr/local/bin/step-ca /etc/step-ca/config/ca.json
Warning
If the service status show as activating for a long time we may have a problem with our step-ca installation.
● step-ca.service - step-ca
    Loaded: loaded (/etc/systemd/system/step-ca.service; enabled; vendor preset: enabled)
    Active: activating (auto-restart) (Result: exit-code) since Sun 2023-01-01 20:10:41 CET; 7s ago
    Process: 2364 ExecStart=/bin/sh -c /usr/local/bin/step-ca /etc/step-ca/config/ca.json (code=exited, status=2)
Main PID: 2364 (code=exited, status=2)
        CPU: 106ms
Configure CoreDNS
Clone the CoreDNS
Start the CoreDNS container
Test that the DNS server is working
❯ dig +noall +answer stepca.sharpnet.sdac @smilprpi0010.sharpnet.sdac
stepca.sharpnet.sdac.   3600    IN      A       10.42.0.10
(Optional) Install the Argon One driver
Info
If the Raspberry case being used for the server is an Argon One only then we should install this driver.
Configure the Argon One fans
--------------------------------------
Argon One Fan Speed Configuration Tool
--------------------------------------
WARNING: This will remove existing configuration.
Press Y to continue:y
Thank you.

Select fan mode:
  1. Always on
  2. Adjust to temperatures (55C, 60C, and 65C)
  3. Customize behavior
  4. Cancel
NOTE: You can also edit /etc/argononed.conf directly
Enter Number (1-4):2

Please provide fan speeds for the following temperatures:
55C (0-100 only):40
60C (0-100 only):60
65C (0-100 only):80
Configuration updated.